Setting up a blow-up tent can sometimes feel like a daunting task, especially if you’re new to camping or accustomed to traditional pole tents. I vividly recall my first experience with an inflatable tent a few years back, camping in the brisk conditions of Zion National Park. I’d always relied on conventional setups, and the idea of an “air tent” felt almost too good to be true, making me skeptical about its stability and ease of assembly.
However, what I discovered was a revelation: the benefits of inflatable tents extend far beyond mere convenience, as detailed in the guide to inflatable tents. This guide will walk you through the surprisingly straightforward process of setting up an inflatable tent step by step, ensuring your next camping trip is smooth and stress-free.
How to Set Up an Inflatable Tent Quickly
- Choose a flat campsite.
- Lay out the tent completely.
- Connect the pump and inflate air beams.
- Stake down corners and guy lines.
- Organize the interior and perform final checks.
Most inflatable tents can be fully set up in 5–15 minutes, allowing you to begin inflating the tent with ease.
Inflatable Tent vs Pole Tent Setup Time
| Tent Type | Average Setup Time | Difficulty |
|---|---|---|
| Inflatable Tent | 5–15 Minutes | Easy |
| Standard Pole Tent | 15–30 Minutes | Moderate |
| Large Family Pole Tent | 25–45 Minutes | Difficult |
What You Need Before You Start
Before diving into the setup process, a little preparation goes a long way to ensure your inflatable tent experience is seamless. Having the right gear and understanding your tent’s specific requirements can dramatically cut down on setup time and potential frustrations, allowing you more time to relax and enjoy the adventure. A well-prepared camper is a happy camper, ready for whatever the outdoors throws your way.
Essential Gear Checklist for Inflatable Camping Tents
To successfully pitch your inflatable tent, you’ll need the tent itself, naturally, along with its included pump preferably a double-action manual pump or an electric one for quickly inflating your tent. Don’t forget stakes and guy lines for securing your tent, a mallet for driving stakes, and a repair kit specifically designed for air beams, just in case of an unexpected puncture during your tent setup. A ground tarp or footprint is also highly recommended to protect the tent body from sharp objects.
Recommended Inflatable Tent Setup Gear
Having the right accessories can make inflatable tent setup faster, easier, and more reliable. Whether you’re a beginner camper or a frequent outdoor adventurer, these items can help improve your overall camping experience.
Electric Air Pump
An electric air pump can inflate an inflatable tent in just a few minutes, reducing effort and saving time at the campsite. Look for models with multiple nozzle attachments and adjustable pressure settings.

- 【LIGHTWEIGHT & PORTABLE 】 The PUFFER Pro sup pump with gauge weights only 2.78 lbs (1.26 kg) and measures 6.46 x 3.39 x …
- 【POWERFEUL INFLATION & DEFLATION】With a maximum pressure of 20 PSI, this electric sup pump can quickly inflate 6 paddle …
- 【AUTO-OFF & DUAL STAGE PUMP】The electric paddle board pump features a dual-stage motor quick inflation, with only 7.5 mi…
Heavy-Duty Tent Stakes
Standard stakes included with tents may not perform well in loose soil, sand, or windy conditions. Upgrading to heavy-duty stakes can provide better holding power and improve tent stability.

- Forged Steel
- Upgraded Heavy Duty Camping Stakes: Made of high-quality forged S45C steel, completely get rid of the snapping and bendi…
- Set Includes: 8 Metal steel tent pegs (12 inches long / 0.31DIA / 4.43oz each). Your stakes available in rocky place des…
Tent Footprint or Ground Tarp
A footprint protects the tent floor from sharp rocks, sticks, and abrasion. It can also help keep the tent cleaner and extend its lifespan.

- A MUST FOR TENT: An extra tent tarp doesn’t just give you extra waterproofing, it is used as ground cloths under tents t…
- HEAVY DUTY: A tough groudsheet that can be easily overlooked but it makes all the difference when setting up the campsit…
- LIGHT&COMPACT: Size 87″ x 59″, weighing a mere 9.8 oz, it isn’t going to add a lot of weight to your pack. Impressed com…
Portable Pressure Gauge
A pressure gauge helps ensure your inflatable tent is inflated to the manufacturer’s recommended PSI. Proper inflation improves stability while reducing the risk of overinflation.
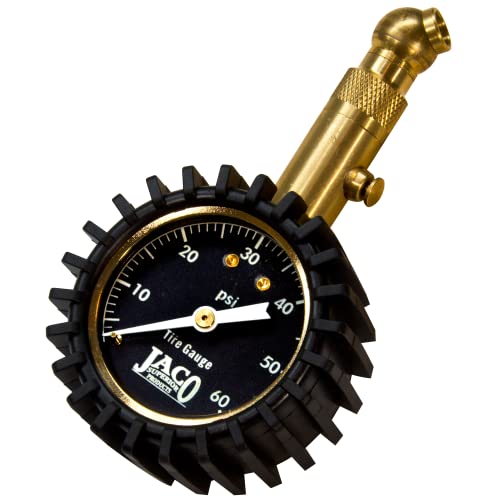
- MECHANIC RECOMMENDED: Performance tested, certified & calibrated accurate to ANSI standards (±1.5%) at our industrial fa…
- BUILT TO LAST: Feels solid in the hand & engineered with heavy duty brass shielded by our durable, shock-resistant rubbe…
- EASY-TO-USE: Fully equipped with a built-in air bleeder valve to quickly reduce pressure in overinflated tires, and the …
Air Beam Repair Kit
Even though inflatable tents are durable, carrying a repair kit allows you to quickly patch minor punctures and continue your camping trip with confidence.
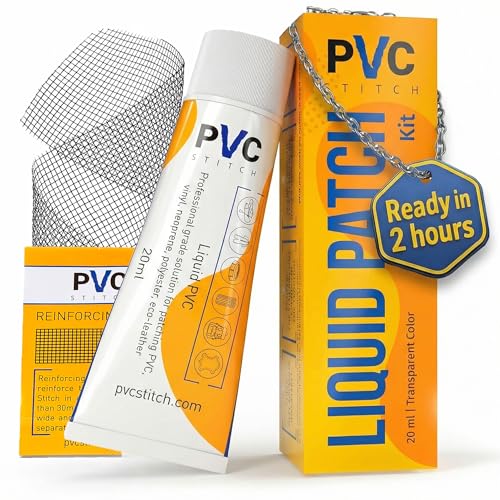
- PVC Stitch is a perfect durable heavy duty Air Mattress Patch Kit, patch for Above Ground Pools, Hot Tub Repair Kit, Poo…
- How to Use: This is liquid PVC that will become a permanent patch when it dries out. No other patches are needed. No nee…
- PVC Stitch is a Water Resistant Sealant for Outdoor & Water Gear, UV Resistant Adhesive, Heat & Cold Resistant Caulk. Wa…
Rubber Mallet
A lightweight rubber mallet makes it easier to drive stakes into hard ground without damaging them.

- Premium Materials: 16oz Rubber mallet head is made of rubber, making it durable and able to withstand heavy use.
- Premium Hammer Head: rubber hammer is shockproof and wear-resistant, making it ideal for any job. Its double percussion …
- Fiberglass Shock Absorbing Handle: PP+TPR handle can reduce vibration and damage to the arm, allowing for greater contro…
Reflective Guy Lines
Reflective guy lines improve nighttime visibility around the campsite and reduce tripping hazards while adding extra stability during windy weather.

- Guy Rope 4mm Reflective Cord Guy Line Tent Guide Rope with Aluminum Adjuster 13 Feet 8 Pack for Tent Tarp Outdoor Packag…
- Highly reflective guy lines uniquely contains high reflective filaments, giving much greater visibility even in low ligh…
- Heavy Duty & Extremely Strong: The 4 mm inner core is made from premium nylon, which can bear a load up to 570 lbs. Not …
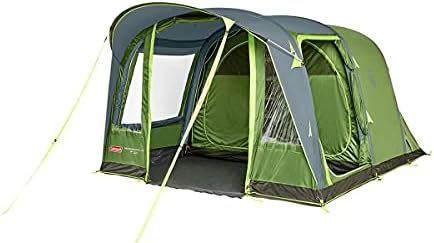
Recommended Inflatable Tent Models
When choosing an inflatable camping tent, trusted brands such as Vango and Coleman are excellent places to start. Models like the Coleman Weathermaster Air and Vango AirBeam series are popular among campers for their quick inflation systems, durable construction, and spacious interiors. For families, the Vango Odyssey Air 500 offers a practical balance of comfort, weather protection, and easy setup, making it a great choice for car camping trips. These Amazon-available options are well-regarded for their reliability, convenience, and beginner-friendly design.

Preparing for Different Weather Conditions
Always check the weather forecast before your camping trip to ensure you have the right tent for the conditions. If strong winds are expected, ensure your tent is rated for such conditions and plan to use all available guy lines for maximum stability. For potential rain, verify your tent’s hydrostatic head rating and consider a rainfly over the roof for extra protection against moisture. Understanding how to properly orient your tent to minimize wind exposure can also prevent undue stress on the air beams.
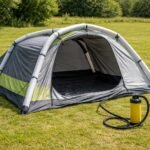
Step 1: Unpacking and Lay Out the Tent
The initial step in setting up your inflatable tent is perhaps the most straightforward, yet crucial for a smooth inflation process. Proper unpacking ensures the tent lies flat and unobstructed, preventing any kinks or twists in the air beams that could hinder inflation. This foundational step sets the stage for a quick and effortless pitching experience, getting you closer to relaxing in your new temporary home in the outdoors, as you’ll have your tent ready in no time.
Removing the Tent from the Bag
Carefully extract your inflatable tent from its carry bag, ensuring you don’t snag any fabric or components. Unroll the tent completely at your chosen campsite. It’s important to lay the tent flat and spread out, ensuring all sections and air beams are fully extended without any folds or twists. This allows for an even and efficient inflation, preventing frustration before the pump even comes out, which is essential when inflating your tent.
Finding the Right Camping Spot
Selecting an appropriate camping spot is paramount for the stability and longevity of your inflatable tent. Choose a level area, free from sharp rocks, sticks, or debris that could potentially puncture the tent fabric or the air beam. Position the tent with consideration for wind direction, aiming to present the smallest profile to strong winds, and ensure good drainage in case of rain to avoid pooling water around your adventure haven.
Expert Tip: Checking for Moisture and Debris
Before laying your tent flat, quickly check the ground for any residual moisture or sharp debris. Even a small twig can cause an unexpected puncture or rub against the tent fabric over time. If the ground is damp, a footprint or ground tarp provides an excellent barrier, protecting your tent’s base and keeping the interior drier, extending the lifespan of your inflatable camping tent significantly.
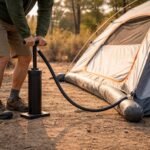
Step 2: Inflate the Tent
Once your tent is perfectly laid out, the next exciting phase is to begin inflating the tent. This step truly showcases the unique benefits of inflatable tents, as you’ll witness the structure take shape with surprising speed. Proper inflation is key to ensuring your air tent is sturdy and stable, ready to withstand various outdoor conditions, providing a secure and comfortable shelter for your camping trip.
Choosing Between Electric and Manual Pumps
When it comes to inflating your inflatable camping tent, you generally have two main options: an electric pump or a manual pump. While an electric pump offers the fastest and most effortless inflation, especially if you have a car nearby, a good double-action manual pump is often more reliable in remote locations where power isn’t available. I typically bring both, just in case, preferring the electric for convenience.
Recommended Air Pumps for Inflatable Tents
Using the right pump can reduce setup time and ensure proper inflation.
👉 Best Electric Tent Pump: ETENWOLF Air Pump
👉 Best Battery-Powered Tent Pump: OutdoorMaster 20PSI High Pressure
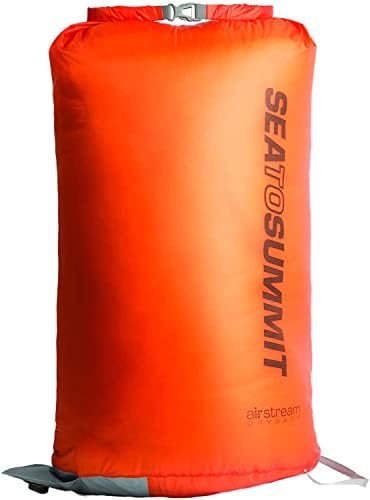
👉 Best Manual Tent Pump: Sea to Summit Air Stream Pump Sack


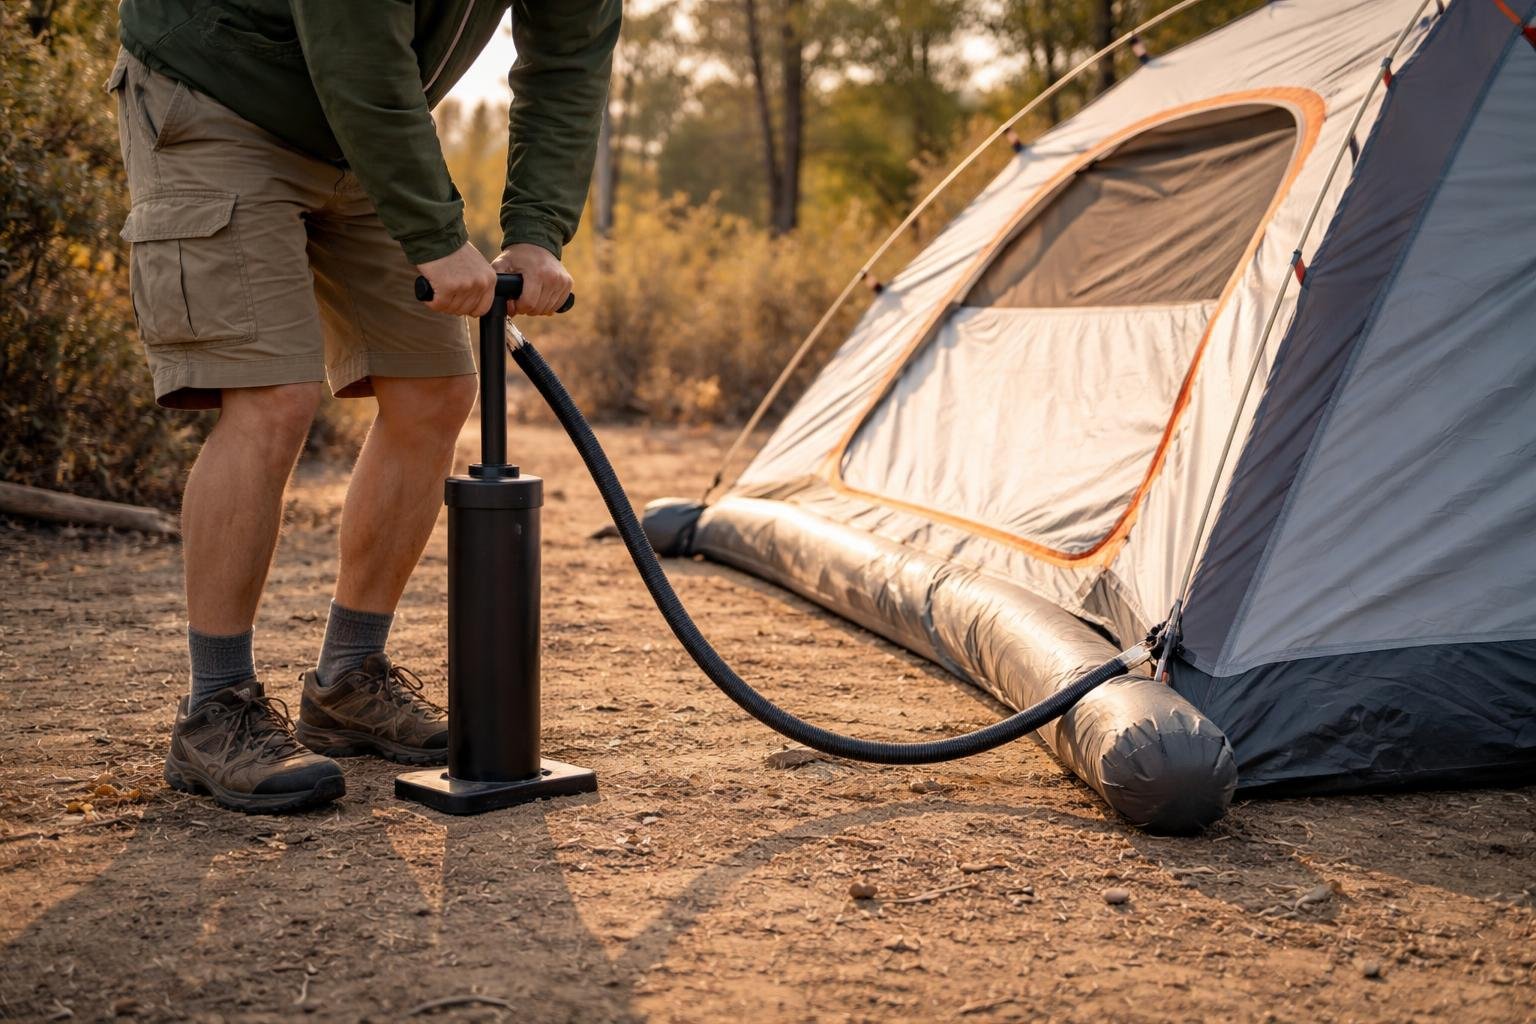
Ensuring Proper Inflation
To properly inflate your air tent, locate the main inflation valve often clearly marked. Connect your pump securely to the valve, ensuring a tight seal to prevent air leakage. Begin to inflate, watching the air beams slowly rise and form the tent’s structure. Make sure all beams are evenly inflated, creating a firm and rigid framework. I learned early on that under-inflating can make the tent sag, especially in wind.
Expert Tip: Avoiding Over-Inflation
While it’s important to achieve proper inflation for stability, over-inflation can actually damage the air beams, especially in warmer conditions where air expands. Most inflatable tents have a recommended PSI printed near the valve. I always keep a pressure gauge handy and aim for the lower end of the recommended range, especially when the day is heating up. This prevents undue stress on the fabric and seams, extending the life of your inflatable camping tent.
Step 3: Securing the Tent
With your inflatable tent fully inflated and standing tall, the crucial next step is to roll the tent firmly to the ground for maximum stability, as outlined in the step-by-step guide. This ensures your shelter remains stable and resilient against unexpected gusts of wind or rain, providing peace of mind throughout your camping adventure.
Properly staking and guying your air tent is paramount for safety and maintaining the structural integrity of your portable outdoor home, particularly in windy conditions, as detailed in the step-by-step guide.
Using Guy Lines and Stakes
Every inflatable tent comes equipped with guy lines and stakes, which are essential for its stability. Begin by driving stakes through the tent’s corner webbing loops, firmly anchoring the base. Then, extend the guy lines, pulling them taut and securing them with additional stakes. Ensure the lines are evenly tensioned to distribute stress across the air beams. This creates a strong, resilient structure, especially important for car camping in exposed areas.
Adjusting for Wind and Rain Conditions
In anticipation of strong winds or heavy rain, it’s imperative to utilize all available guy lines and staking points, as suggested in any easy guide to inflatable tents. I always orient my tent to present its smallest profile to the prevailing wind, especially in windy conditions, reducing drag. During a surprise storm in the Rockies, I once saw a less-secured tent nearly collapse; proper tensioning of every guy line, even those on the roof, prevents any section from bending or collapsing under pressure.
Expert Tip: Best Practices for Stability
For ultimate stability, always stake out every available point on your inflatable tent, not just the corners. Angle stakes away from the tent at about a 45-degree angle for maximum holding power in various soil types. In very soft ground, consider using larger, wider stakes or even deadman anchors. This meticulous approach ensures your inflatable camping tent remains sturdy and secure, no matter the weather, offering a reliable shelter for your outdoor adventure.
Step 4: Setting Up the Interior
Organizing Your Camping Gear
Once your inflatable tent is securely pitched and standing, the next step is to transform the empty shell into a functional and comfortable living space. This involves thoughtfully organizing your camping gear. I’ve found that a well-organized interior prevents clutter and makes it easier to find what you need, especially during late-night fumbling. Efficient use of space enhances your entire camping trip experience.
Creating a Comfortable Sleeping Space
To create a comfortable sleeping space in your inflatable tent, begin by laying down a ground sheet or a specialized tent carpet for added insulation and privacy. Next, inflate your sleeping pads or unroll your camping mats. Arrange sleeping bags according to individual needs during the tent setup, ensuring everyone has enough room for a comfortable glamping experience. I once learned the hard way that a poorly arranged sleeping area can lead to a restless night, so take your time here.
Expert Tip: Maximizing Space with Smart Gear Choices
To maximize space within your inflatable camping tent, consider vertical storage solutions like gear lofts or hanging organizers, which are available for many models, including some from the Berghaus Air 4 range. Utilize compact, multi-purpose gear whenever possible. For instance, instead of bulky chairs, opt for inflatable seating or lightweight stools. This strategic approach keeps the floor clear and enhances the overall functionality of your air tent.
Step 5: Final Checks and Maintenance
Inspecting for Leaks and Damage
Before you settle in for your camping trip, a crucial final step is to perform a thorough inspection of your inflatable tent for any potential leaks or damage. Even with the sturdiest air beams, small punctures can occur during transport or setup. Carefully examine all seams, the tent fabric, and especially around the inflation valves. Addressing any issues now can prevent bigger problems later, ensuring a dry and comfortable adventure while following the inflatable tent guide.
Ensuring Proper Ventilation
Proper ventilation is vital for preventing condensation buildup inside your inflatable tent, especially during cooler nights or in humid conditions. Make sure all available vents are open and positioned to allow for good airflow. Many inflatable tents, designed for comfortable car camping, feature multiple windows and mesh panels that can be adjusted. Adequate ventilation keeps the air fresh and reduces moisture, contributing to a more pleasant outdoor experience.
Expert Tip: Post-Camping Care for Your Tent
After your camping trip, proper post-camping care is essential for the longevity of your inflatable tent. Always ensure the tent is completely dry before packing it away to prevent mildew and odors. Clean off any dirt or debris with a soft brush or damp cloth. Before deflating, gently open the air valves and allow the air beams to fully decompress, ensuring you fold the tent properly for storage, as recommended in the easy guide. This meticulous care prevents fabric degradation and maintains the structural integrity of your air tent for many future adventures.
Common Mistakes to Avoid
Poor Site Selection
One of the most frequent errors I’ve observed in the outdoors, particularly with new inflatable tent owners, is inadequate site selection, which is crucial for a successful inflatable tent guide. Rushing to pitch your air tent on uneven ground or in areas prone to water accumulation can lead to discomfort, instability, and even damage to your tent body. Always take a few extra minutes to scout for a level, well-drained spot, free from sharp debris that could puncture an air beam.
Neglecting to Secure the Tent
It’s tempting after the quick inflate process to think your inflatable tent is ready, but neglecting to properly secure it is a recipe for disaster. I’ve personally seen tents, even sturdy inflatable ones, lift off in unexpected strong winds because the camper didn’t utilize all the guy lines and stakes. Always drive every stake and tension every guy line, especially if you anticipate any wind or rain during your camping trip.
Overlooking Weather Precautions
Many campers, myself included when I first started, tend to underestimate the impact of weather during the tent setup. Overlooking weather precautions, such as not orienting your inflatable tent correctly against the wind or failing to ensure adequate drainage, can severely compromise your comfort and safety. Always check the forecast and prepare your air tent accordingly; a little preparation goes a long way in preventing a miserable camping trip.
FAQs
How long does it take to set up an inflatable tent?
One of the primary benefits of inflatable tents is their rapid setup process, which is perfect for those who want to go camping without hassle, especially when using an air pump. From unpacking to fully inflated and staked, most inflatable camping tents, like the Berghaus Air 4, can be pitched in as little as 5 to 10 minutes for experienced campers. This speed is a significant advantage over traditional pole tents, allowing more time to relax and enjoy your outdoor adventure.
What are the benefits of using an inflatable tent?
The benefits of inflatable tents are numerous, making them a popular choice for car camping, especially for those who need a larger tent for family outings. They offer an easy setup with no fiddly poles, superior wind resistance due to flexible air beams, and often more robust construction, making them ideal for glamping enthusiasts. Their quick inflation and deflation also mean less time struggling with a traditional tent and more time enjoying your glamping trip.
Can inflatable tents withstand heavy rain?
Absolutely, especially when it comes to choosing the right tent for your needs. Modern inflatable tents are designed with robust, waterproof tent fabric and strong air beams to withstand heavy rain. Many models feature high hydrostatic head ratings and taped seams, providing excellent protection against moisture. However, proper pitching on well-drained ground and ensuring all zippers are closed securely are crucial for keeping your inflatable tent dry inside during a downpour, especially if you fold the tent properly.
How to repair a leak in an inflatable tent?
Repairing a leak in an inflatable tent is typically straightforward, similar to patching a bicycle inner tube, and can be done quickly so you can get back to enjoying your glamping experience. Most inflatable camping tents come with a repair kit, which usually includes patches and adhesive. Locate the puncture on the air beam or tent fabric, clean the area, apply the patch firmly, and allow it to cure. I always carry an extra repair kit, as a small puncture can unexpectedly bend your adventure.
Conclusion
Recap of Key Points
Setting up an inflatable tent is a surprisingly simple and efficient process, a true game-changer for car camping and general outdoor adventures. From ensuring proper site selection and utilizing all stakes and guy lines to understanding the nuances of inflation and post-camping care, these steps guarantee a sturdy and comfortable shelter. The ease of setup, robust stability, and practical design of air tents truly elevate the camping experience, allowing you to focus on the joys of the outdoors rather than struggling with tent poles.
Soft CTA to Inflatable Tent Resource
If you’re ready to embrace the future of camping with an inflatable tent, there’s a wide world of options available. To help you navigate the choices and find the perfect model for your needs, be sure to check out our comprehensive guide on the best inflatable tents. It’s packed with reviews and recommendations, including durable options perfect for your next camping trip.